 NOTICE: To open links to PDF files (ex. Repair Form), open the link in a new window/tab. We will have this working again shortly. Thank you.


Vacuum leaks are your enemy.
Finding them is the real challenge.
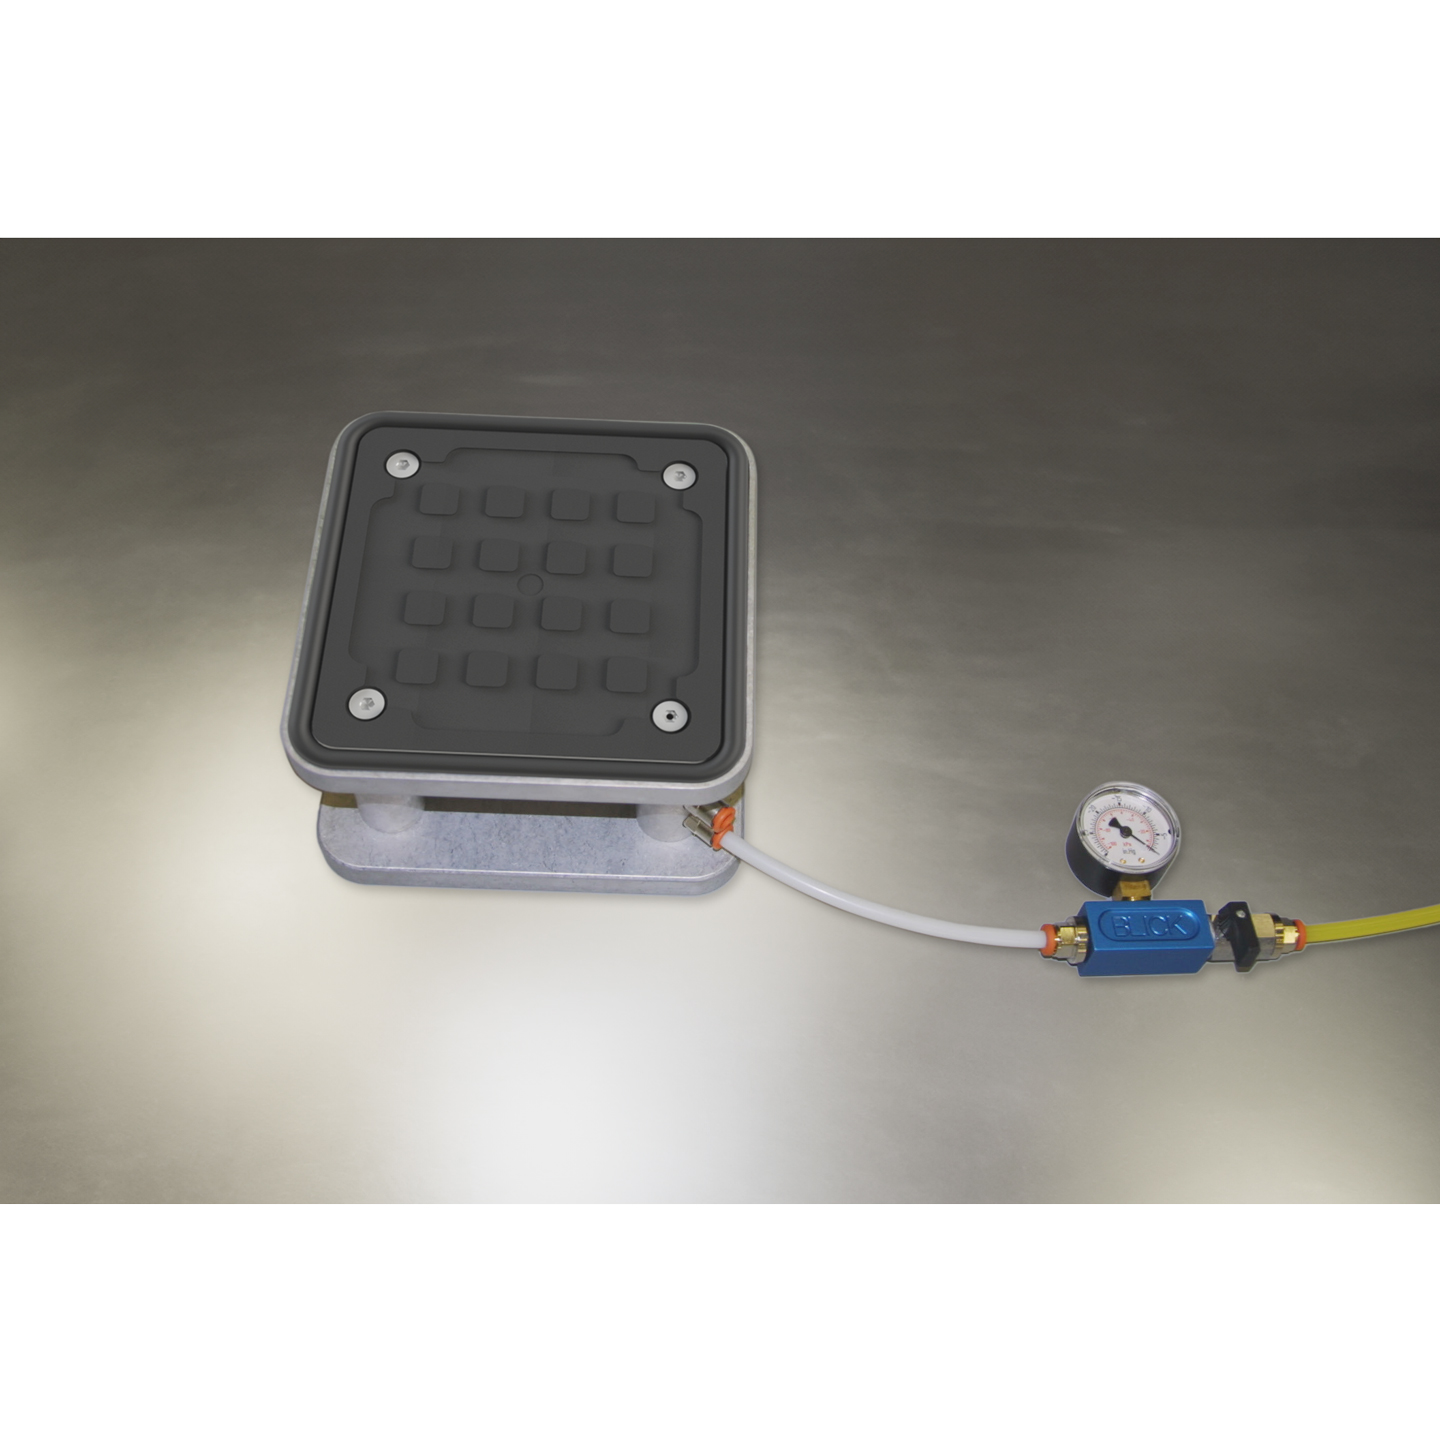
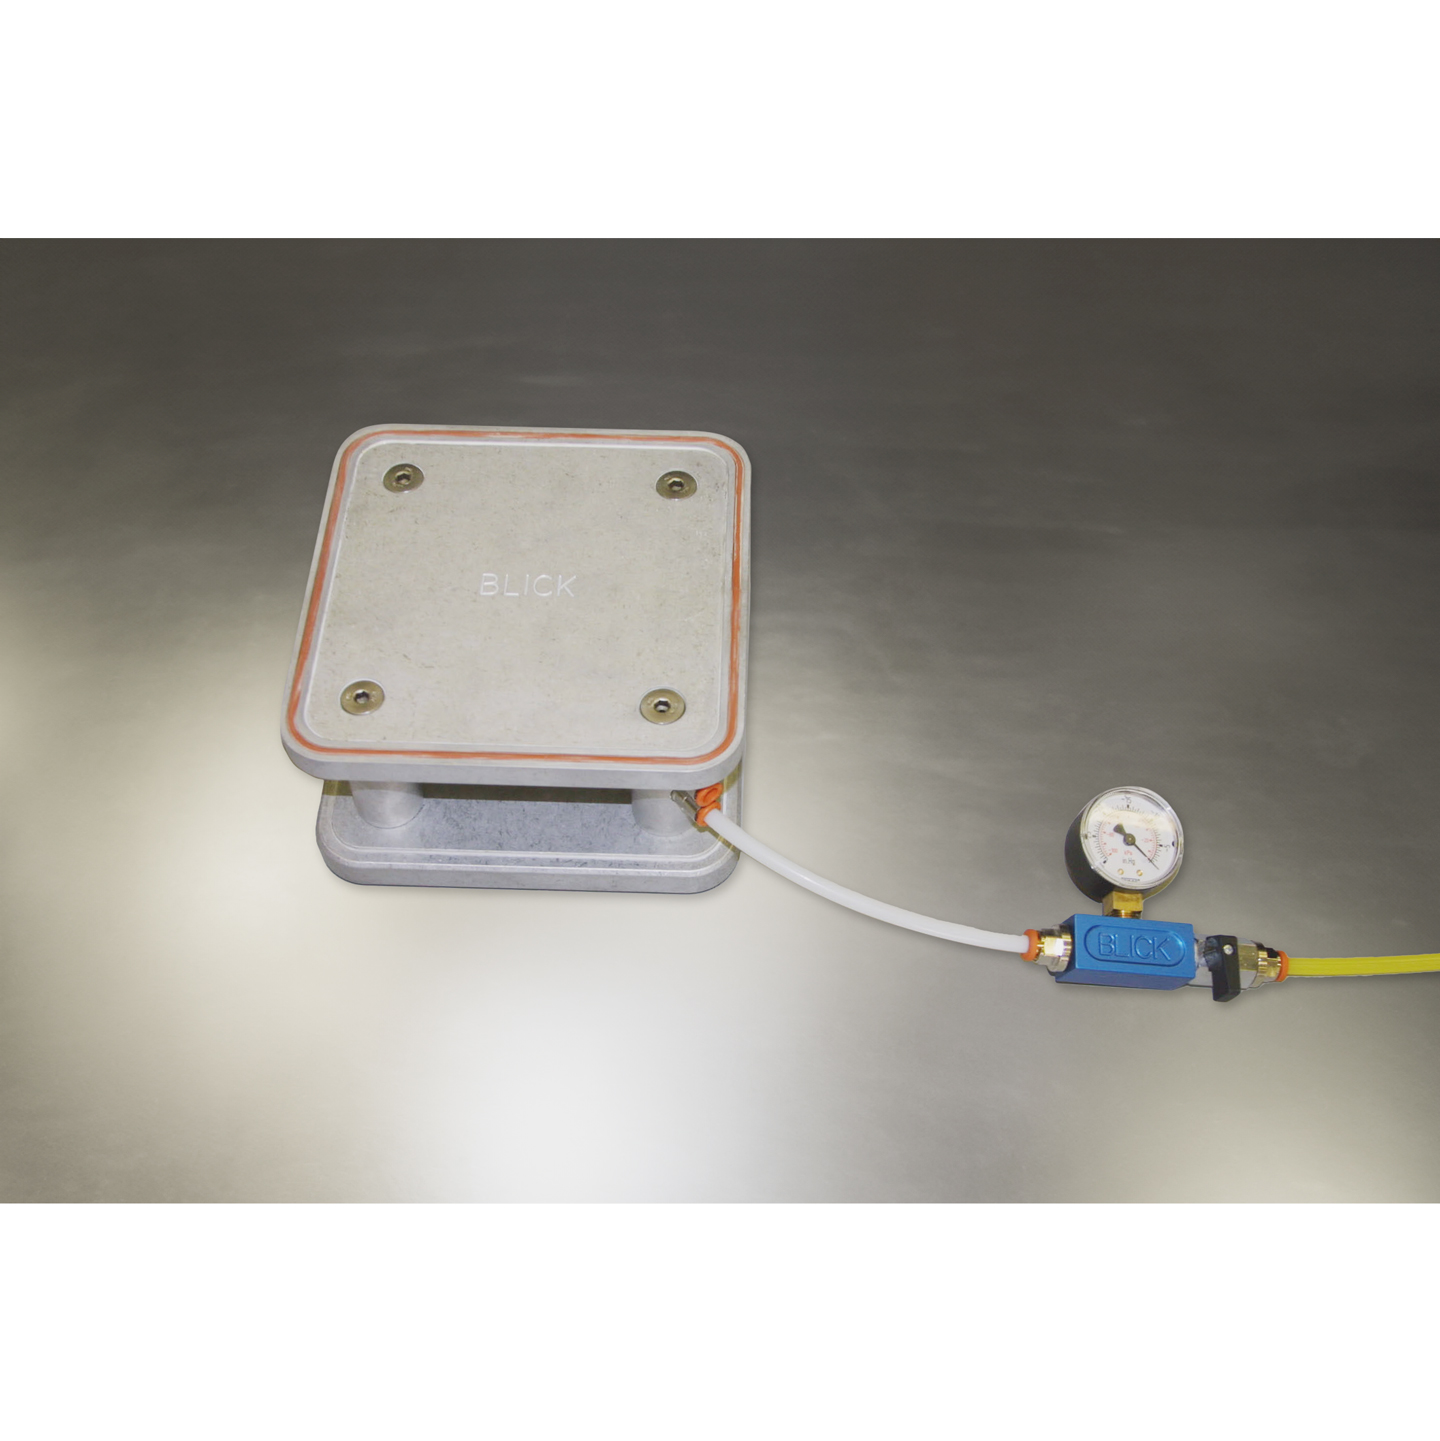
- The Isolator allows the operator to check for vacuum leaks by easily isolating possible failure points, eliminating the problem.
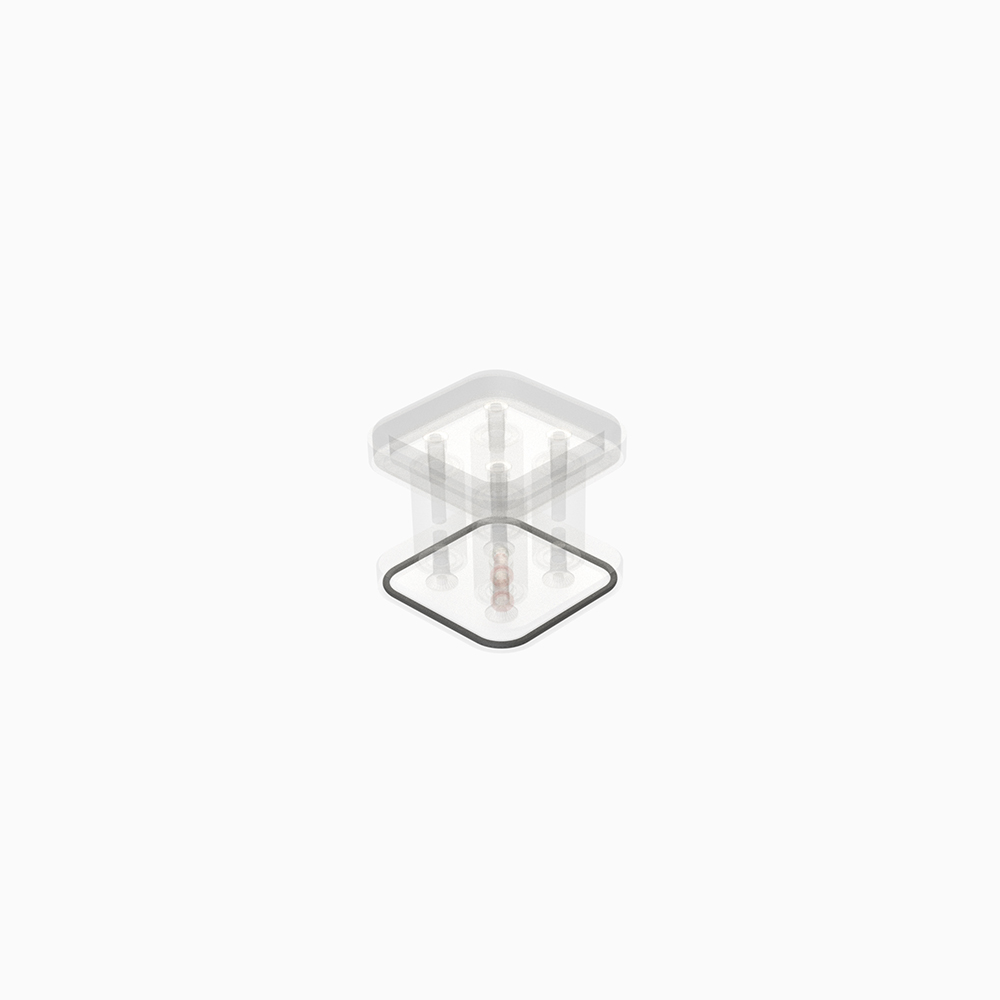
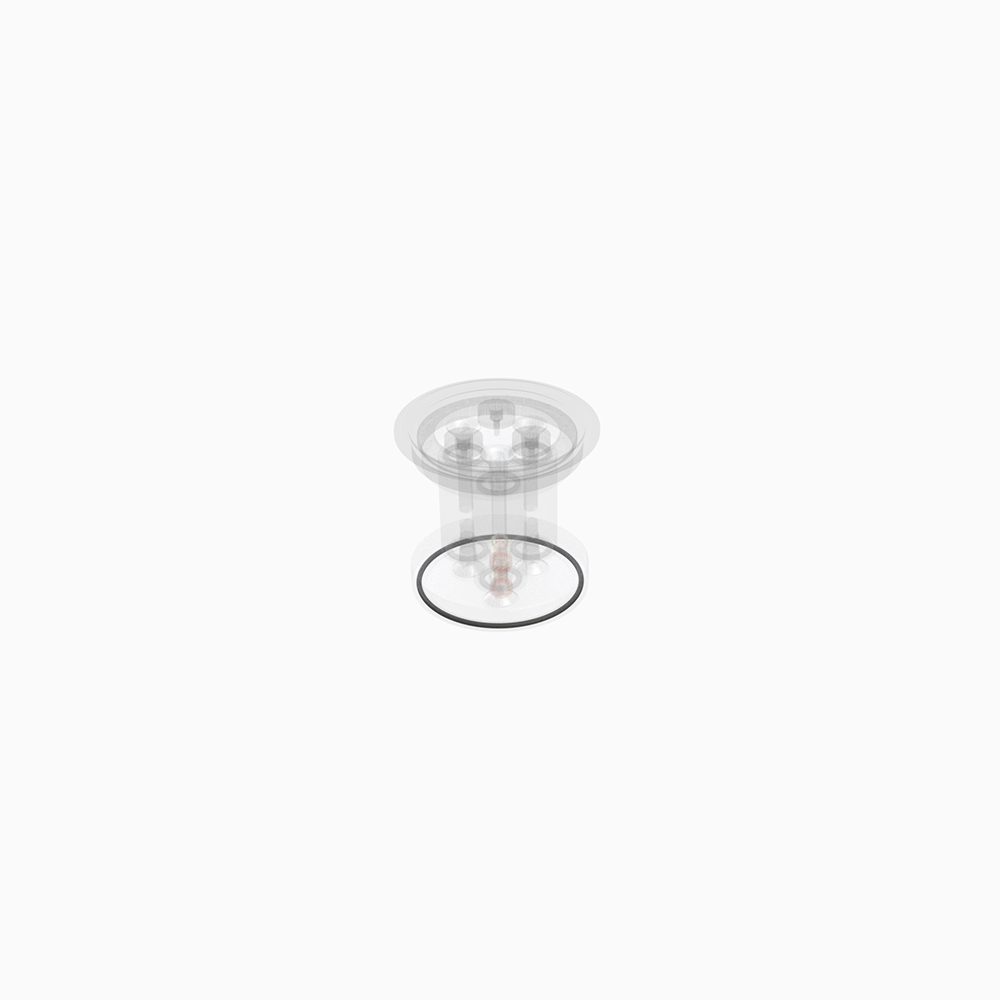
- Various factors such as a worn seal, a worn O-Ring, damage to the part, defects in the table surface, etc., may cause a leak.
- With the Isolator, you can quickly locate, “isolate,” and eliminate pesky vacuum leaks, increasing your machine’s overall vacuum and effective holding power for better and faster processing.
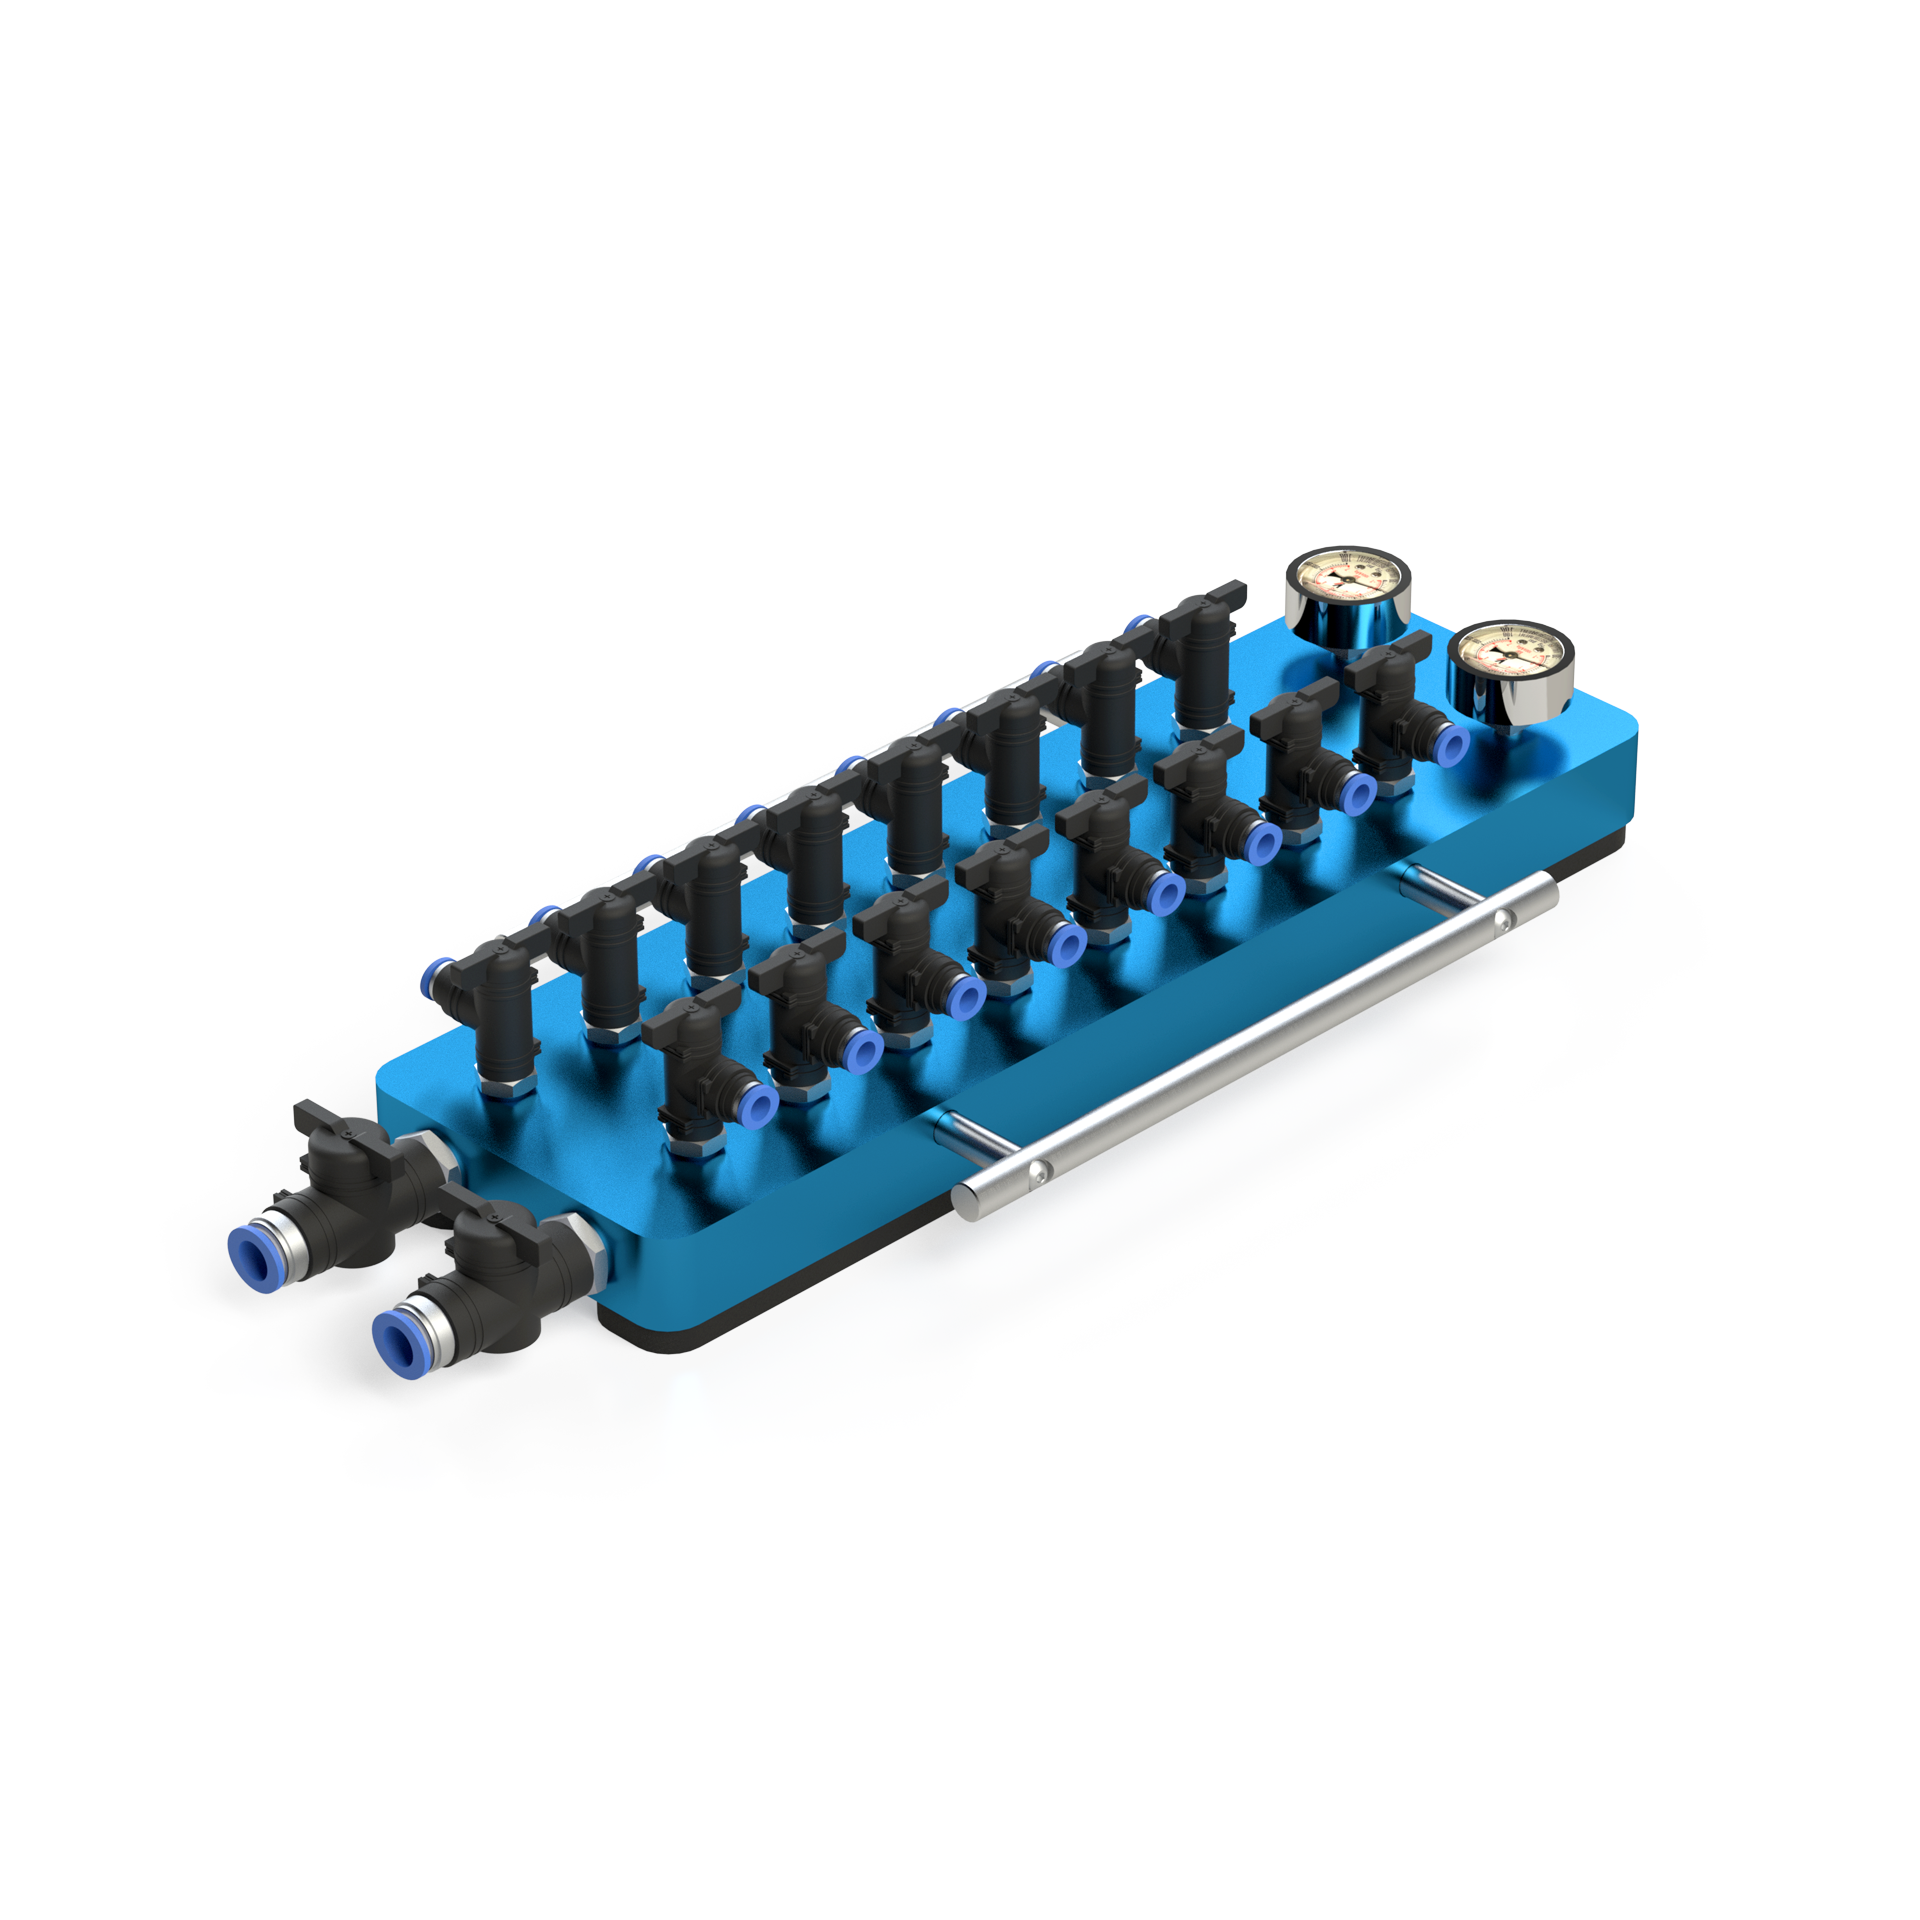
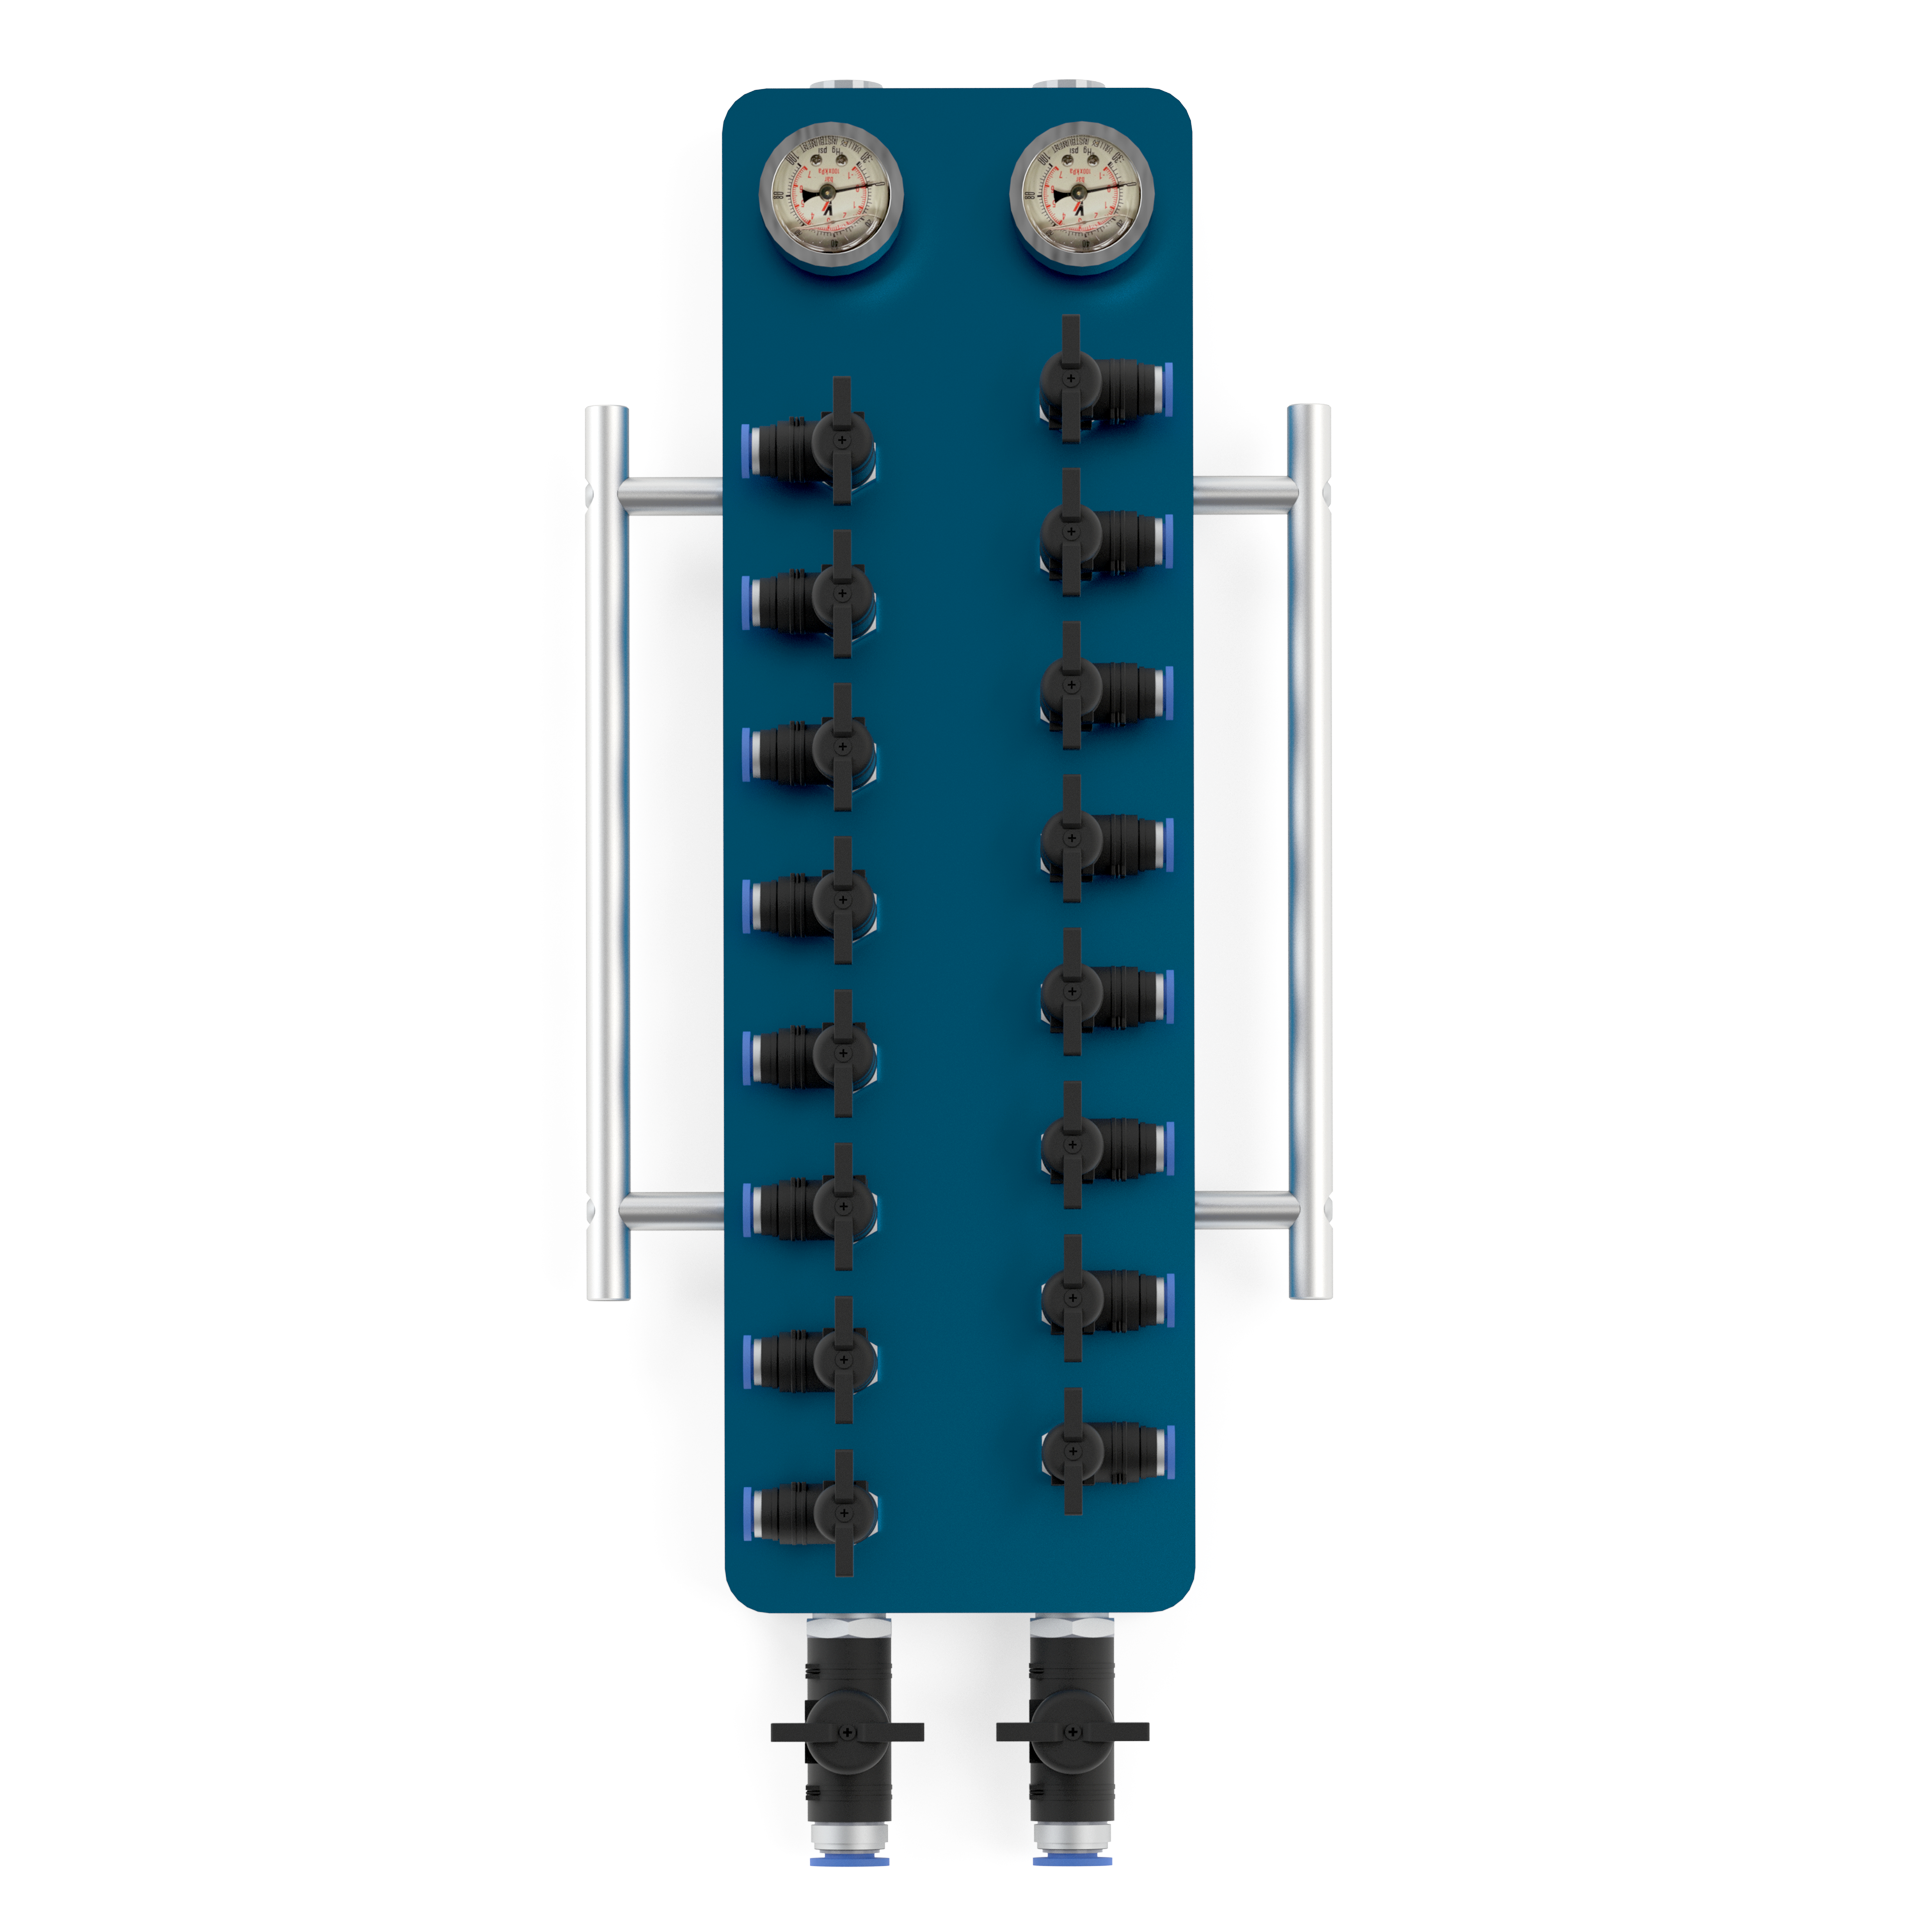
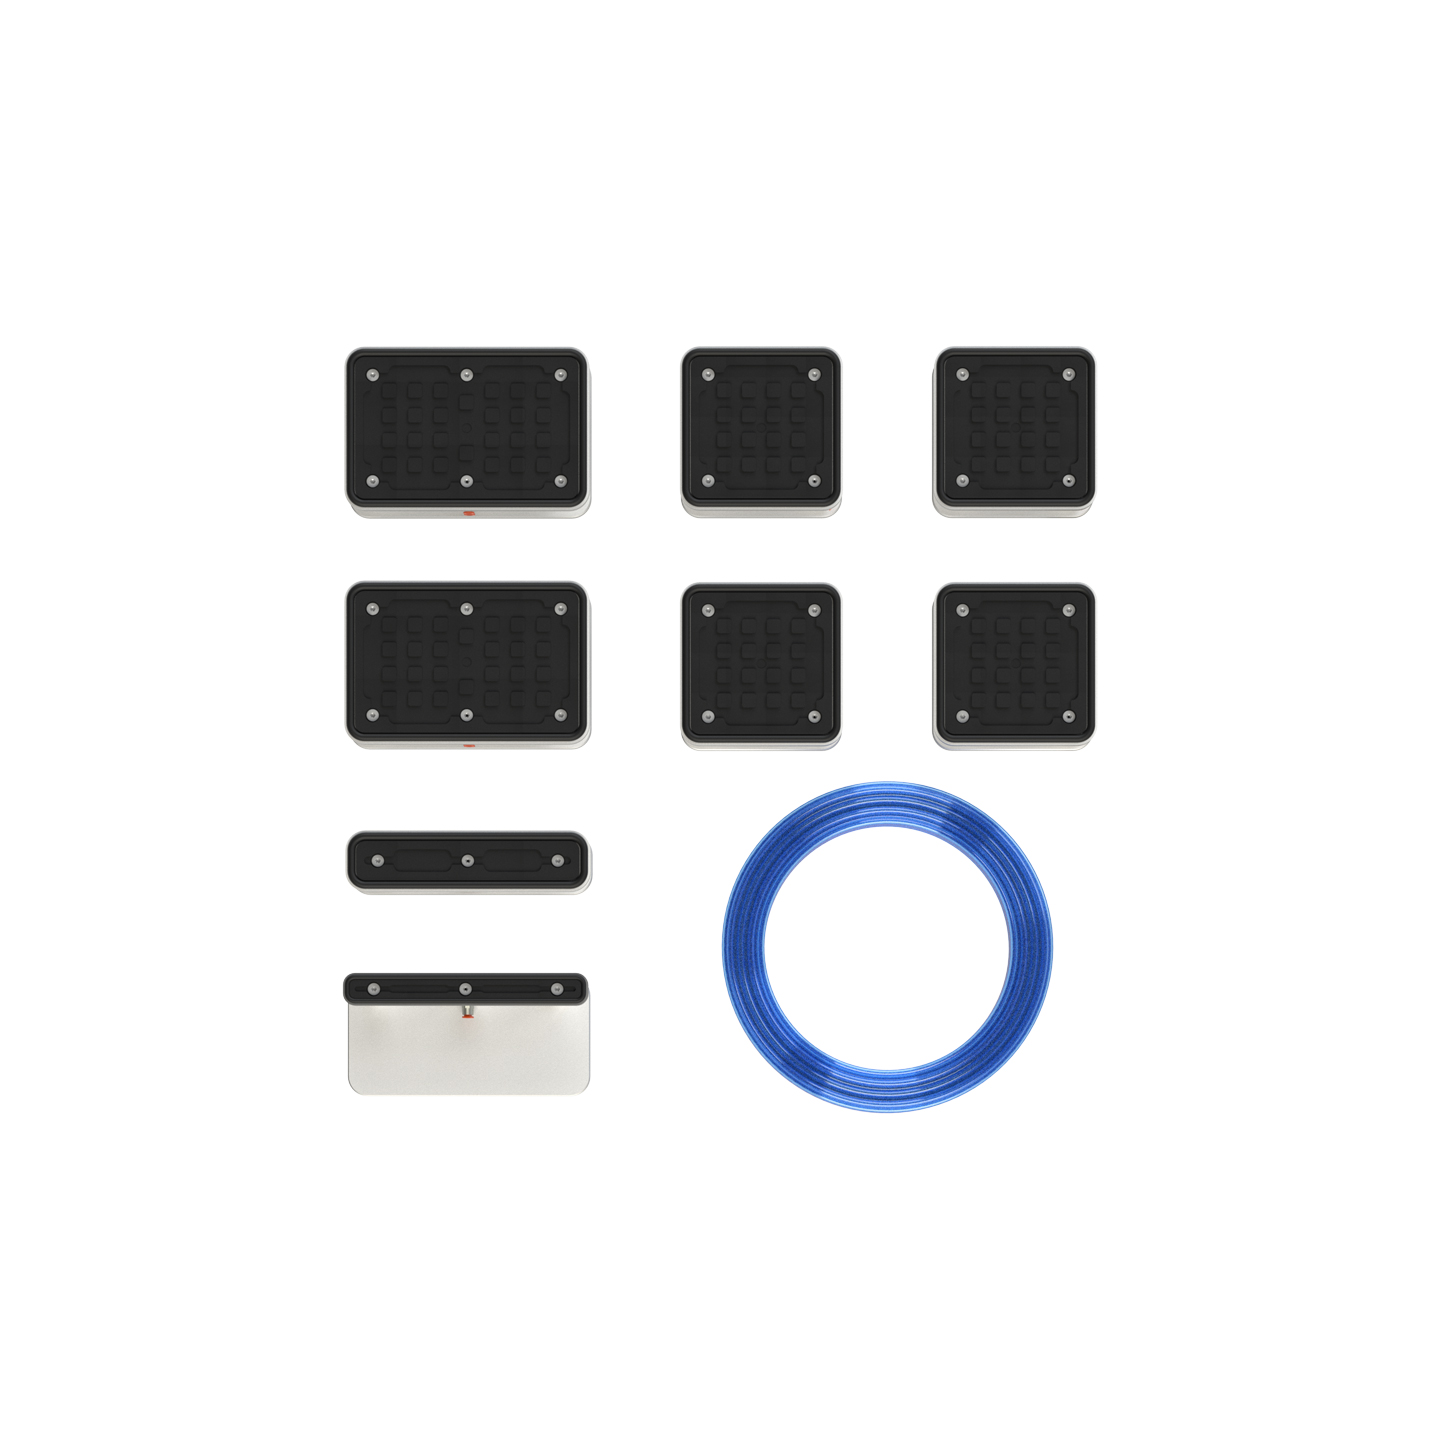
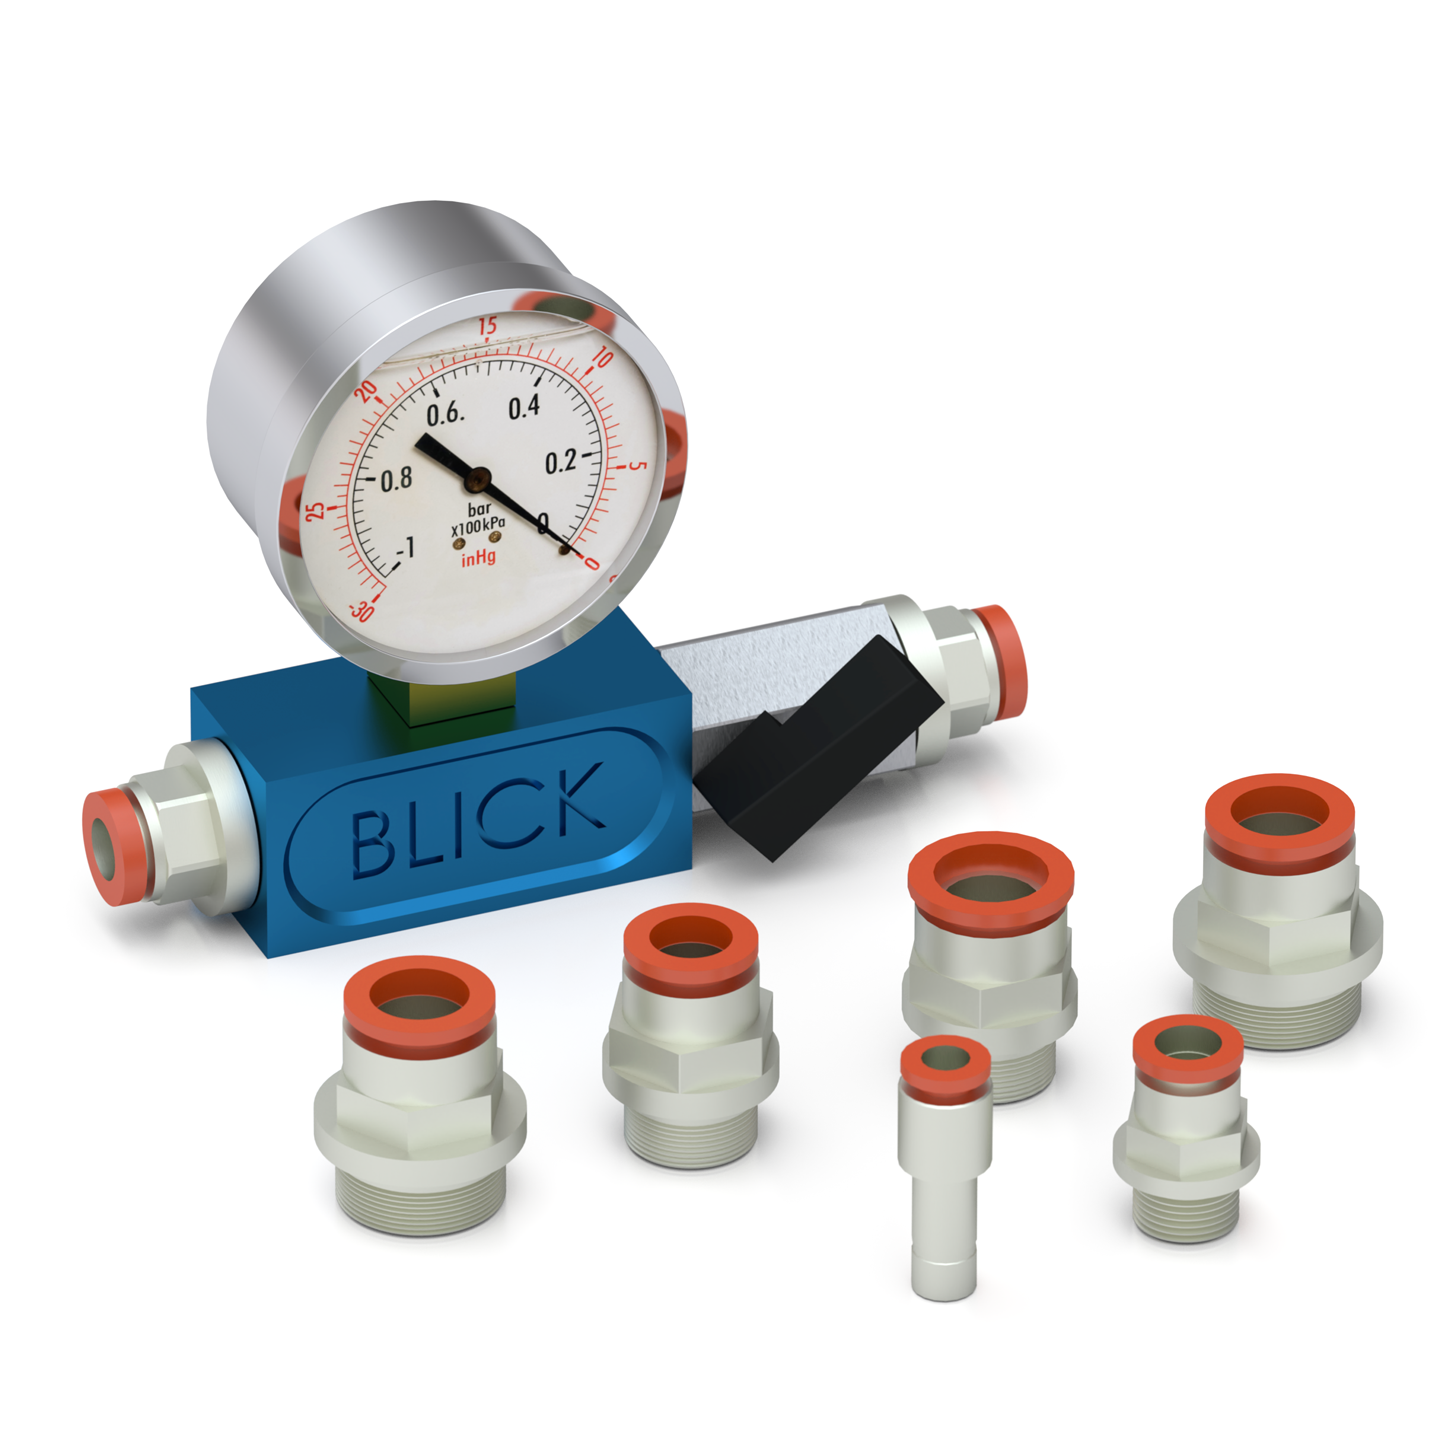
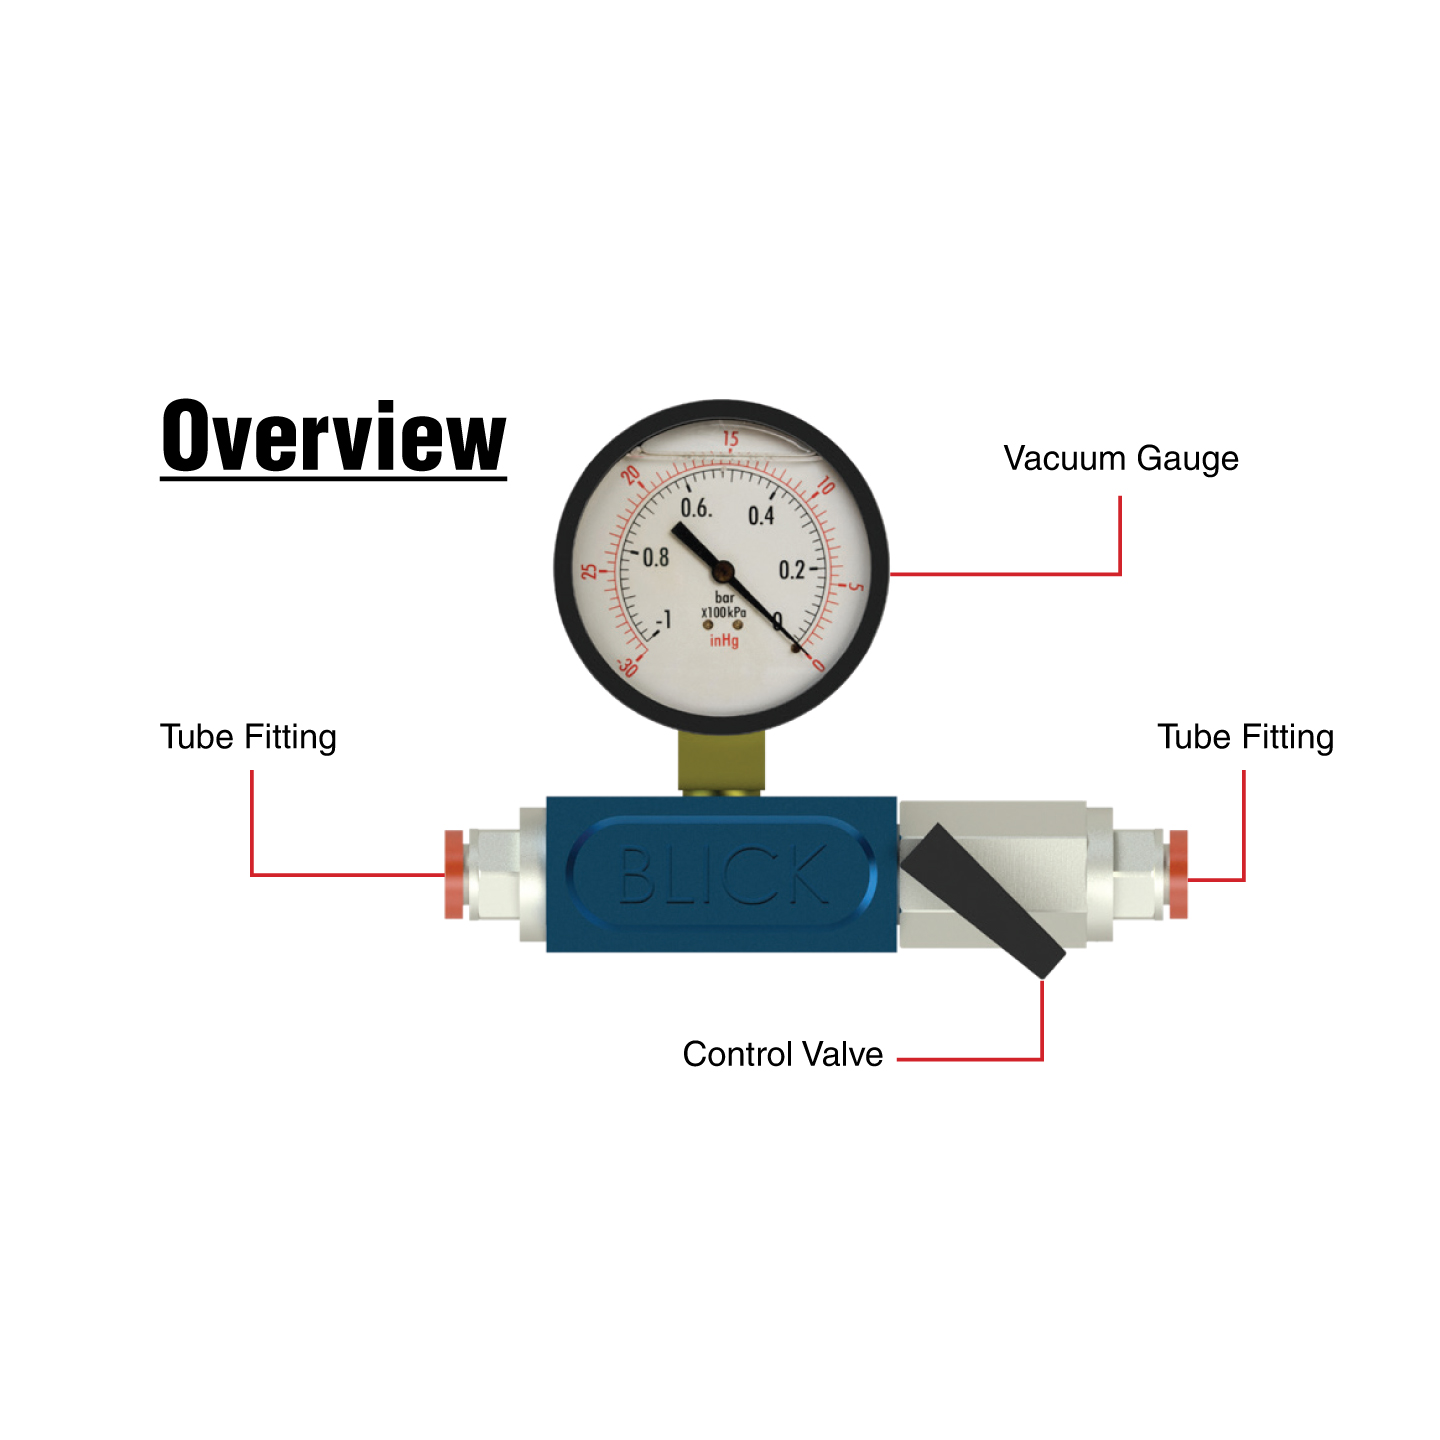
| Part Number | 53-30HG1 |
| Isolator Kit Includes | Vacuum Gauge, Control Valve, Four separate pairs of tube fittings (6 mm, 8 mm, 10 mm, 12 mm, 14 mm, and 1/2″) |

Testing Guide:
- Interrupt the Vacuum Line to Test Part with the Control Valve towards the Vacuum Source
(For Manifolds, ensure that all other Valves to the Manifold are closed) - Connect the appropriate tubing
- Run Vacuum to the Test Part with the Control Valve open
- Once the Gauge shows vacuum, close the Control Valve
- If the dial indicator drops, there is a leak
Troubleshooting:
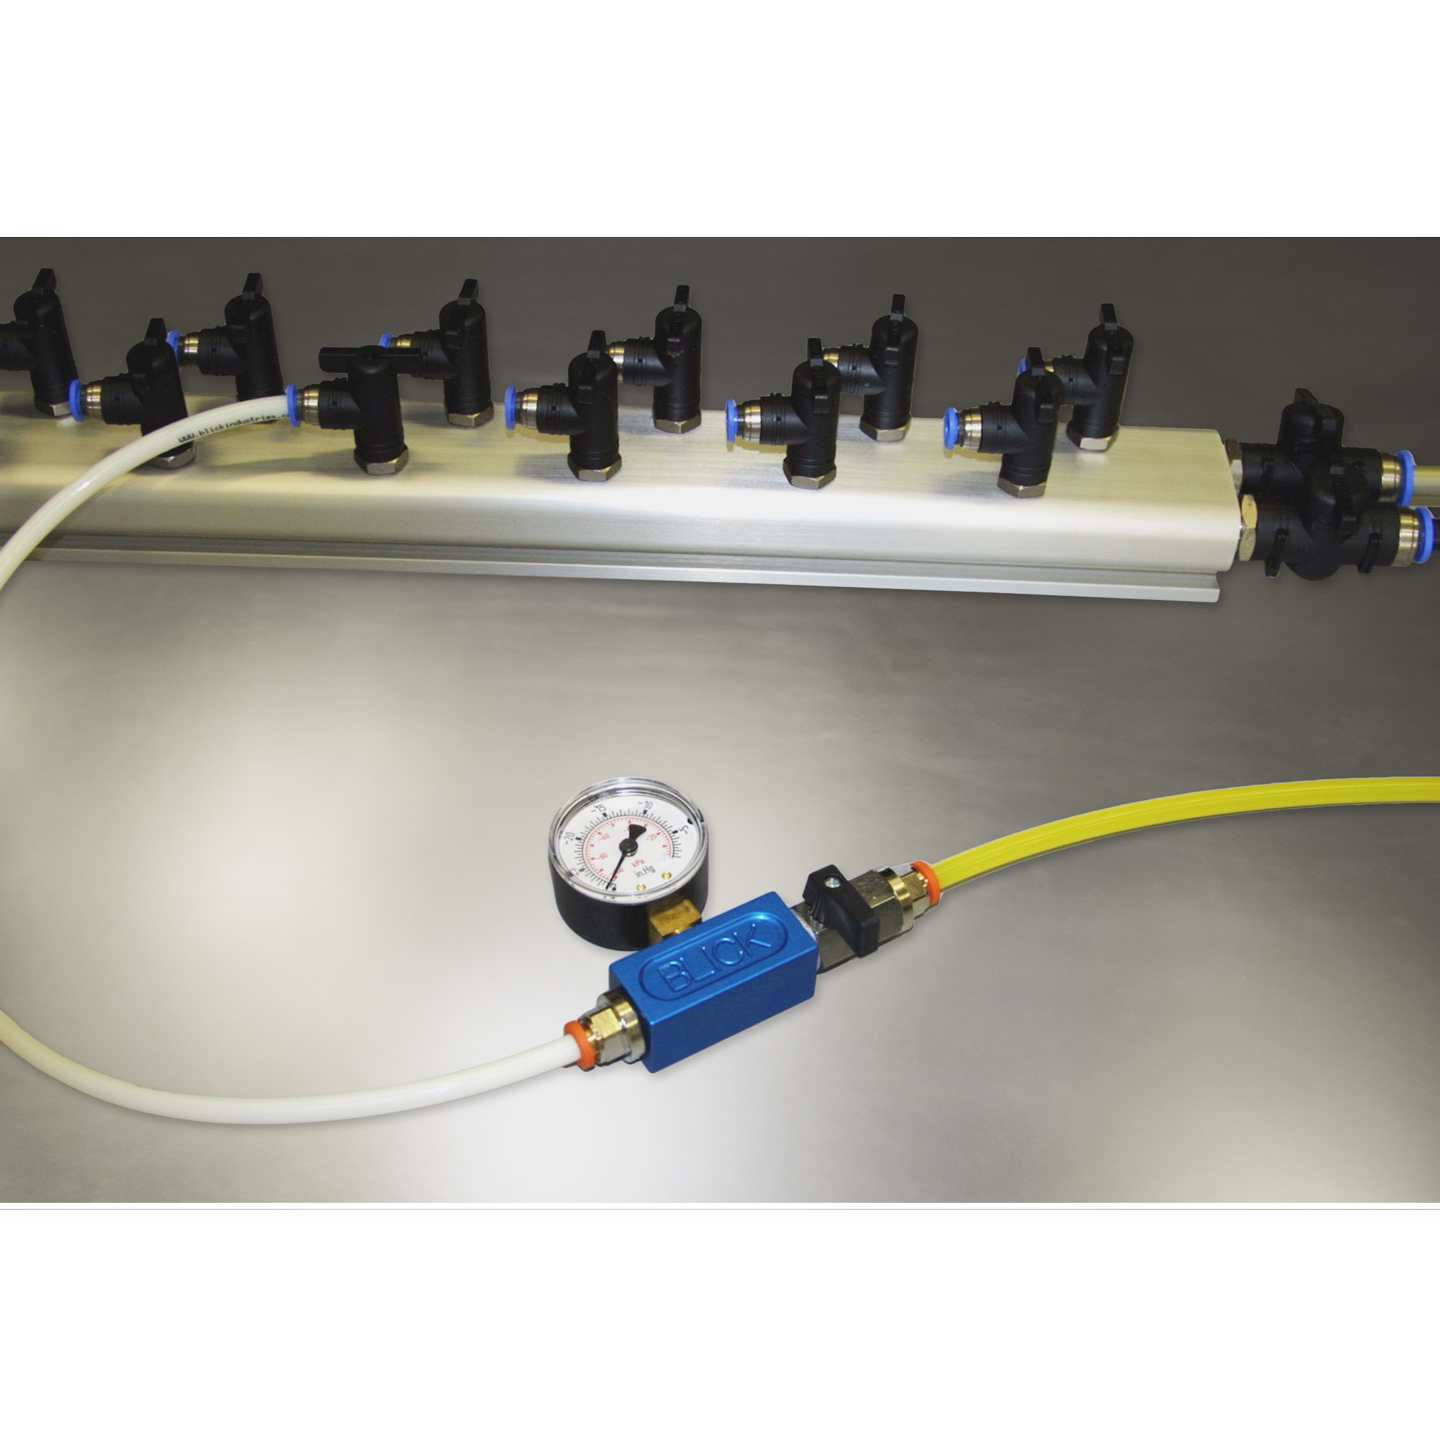
Manifolds –
- Run regulated air (10-15 PSI) with all valves closed with one inlet open.
- If the machine has a float function, the air is already regulated.
- To identify a leak(similar to checking a propane tank):
- Listen for a hissing noise coming from the source of the leak.
- Apply soapy water to the outside of the manifold along the valves, and watch for bubbles.
- Replace valves as needed
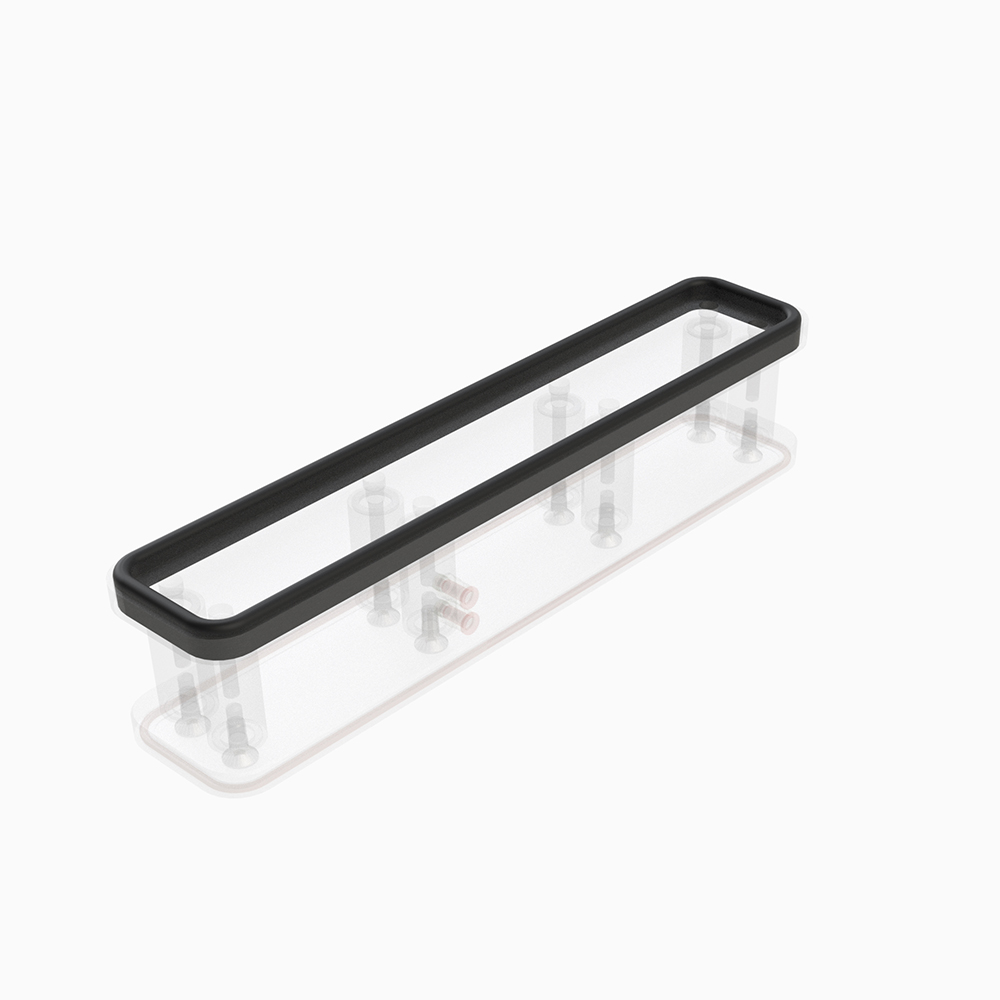
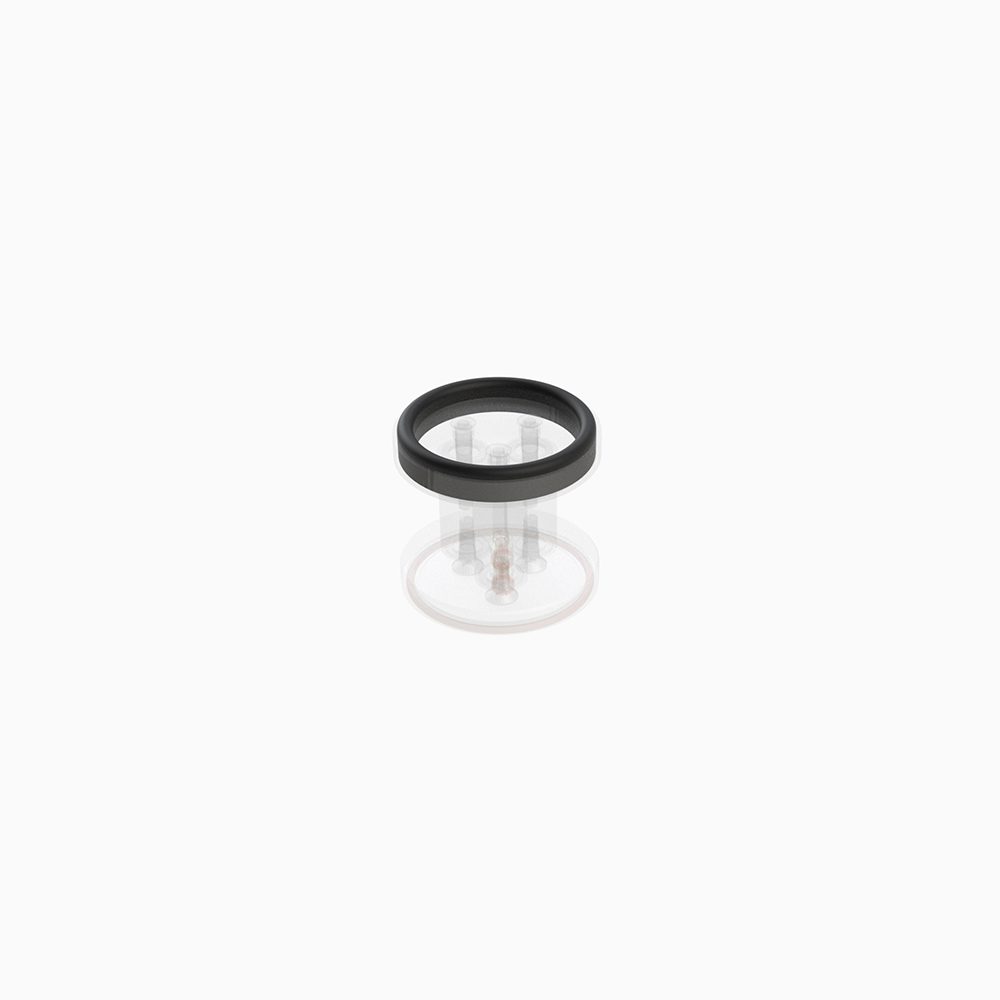
Suction Cups –
- Check air fittings
- Fittings should click when pressed
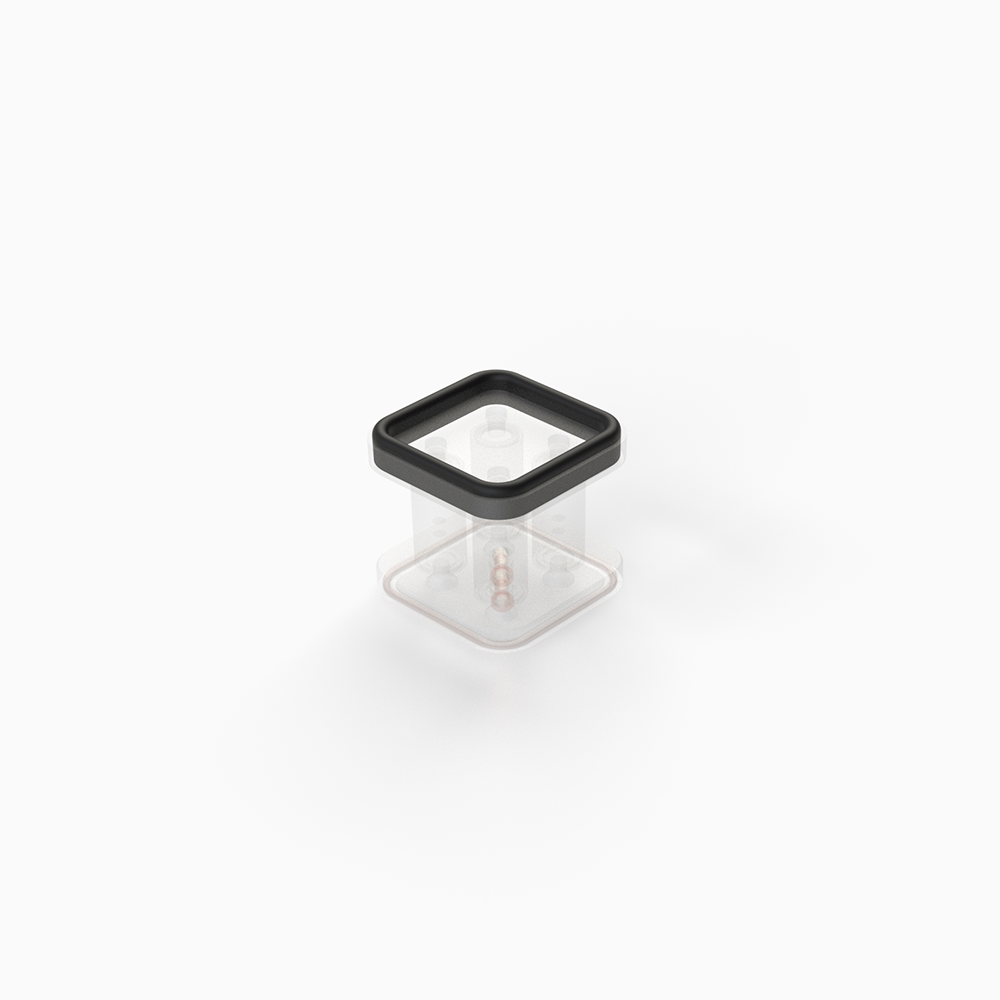
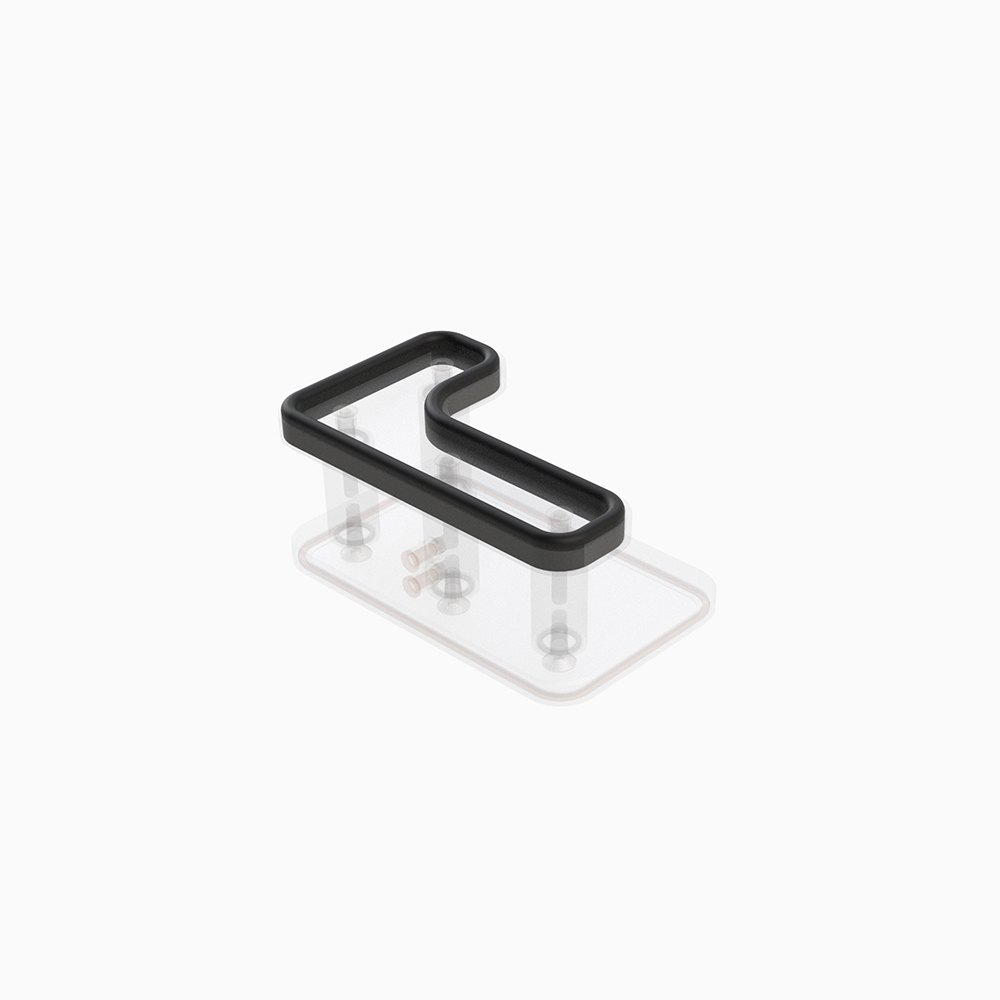
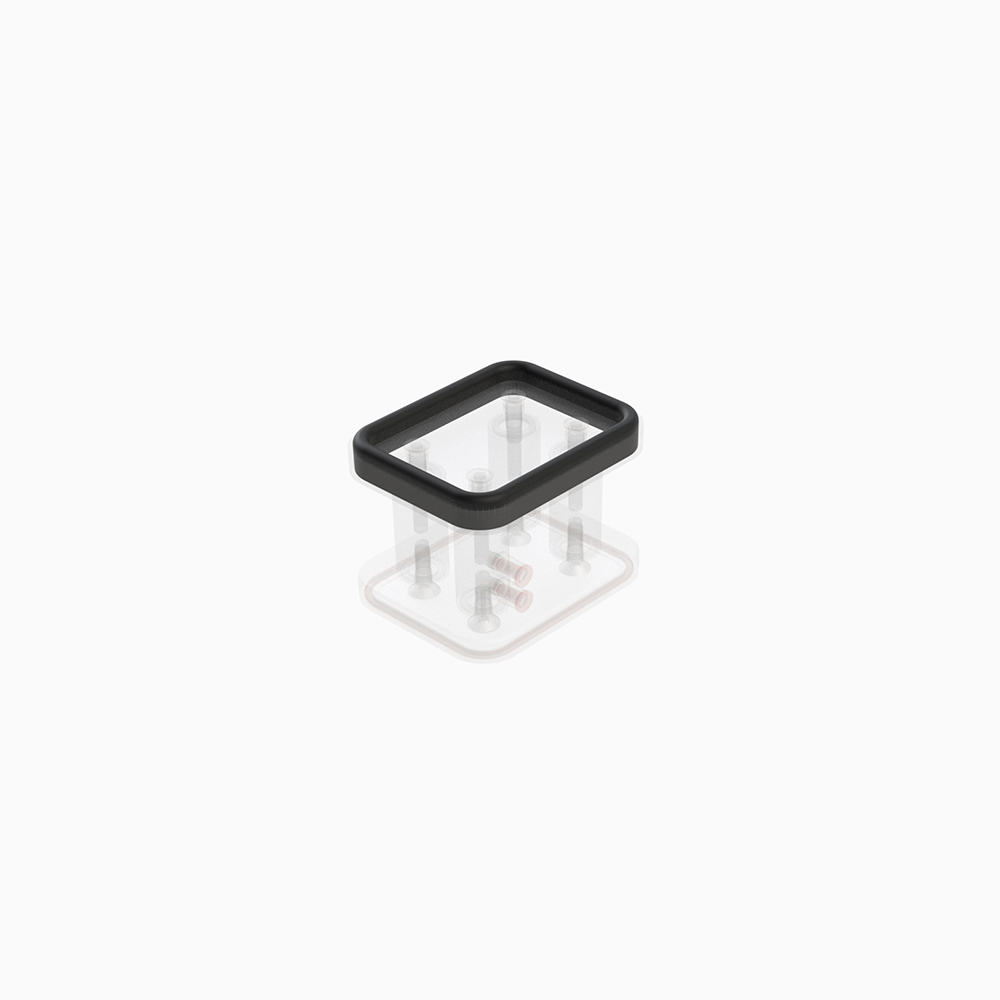
- Check top and bottom seals
- Seals should sit proud of the channel
- Replace fittings and seals as needed
FAQ
| Category | Question |
|---|---|
| Suction Cups | Q: What length should I cut my Top Seals? A: For the cut lengths for both your Top and Bottom Seals, see the link here for instructions on how to replace your seal. There you will find a chart to reference the cut lengths. |
| Location Devices | Q: Can Locating Pins be used as fences? A: No, Locating Pins can not be used as fences. They are not designed to withstand any significant amount of force. See the link here to see our line of Vacuum Fences |
| Fittings | Q: How do I properly remove tubing? A: Push in the collar of the fitting until it clicks, then pull out the tubing. Pulling out the tubing without pushing down the collar will damage the fitting. |
| Tools & Accessories: Vacuum Systems | Q: I have a vacuum leak. How do I find it? A: To locate a leak in your system, use the Isolator Kit to quickly and efficiently find where problem is, see the link here for instructions on how to pinpoint your leak and how to set things right. |
| Services & Repairs | Q: Do you guys do repairs? A: Yes, we do. Go to the link here to see how to get your BLICK tools fixed. |
| Services & Repairs | Q: I have "ghosting" on my piece, how do I prevent this? A: Here's how; see the link here |
Downloads
Isolator Kit
$79.00
Don’t put up with vacuum leaks!
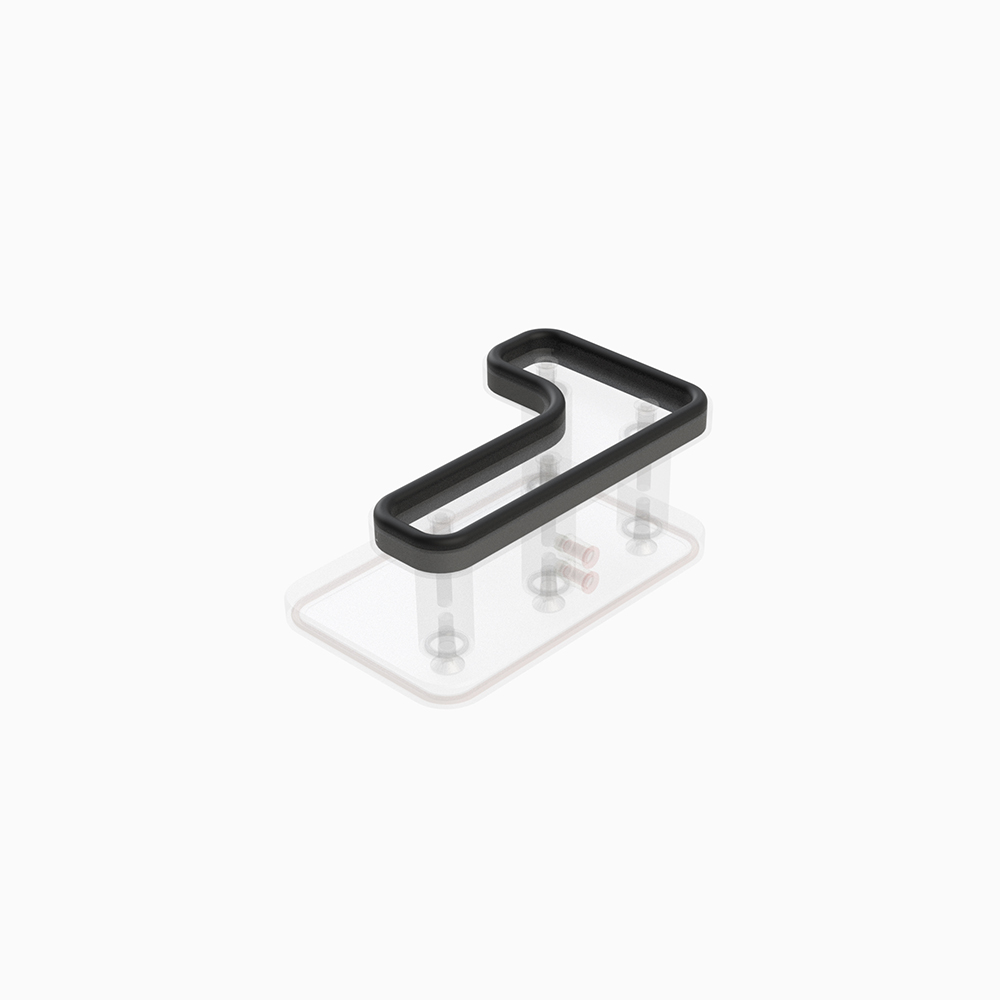
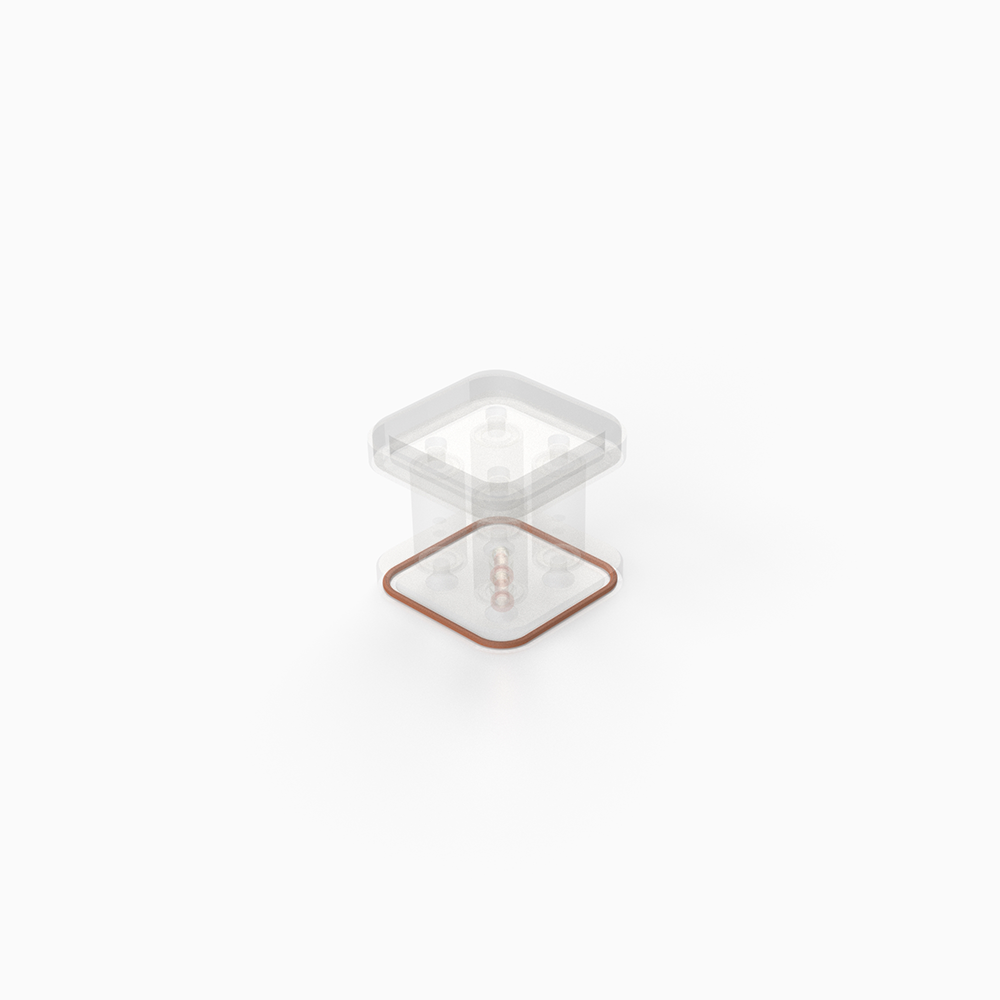
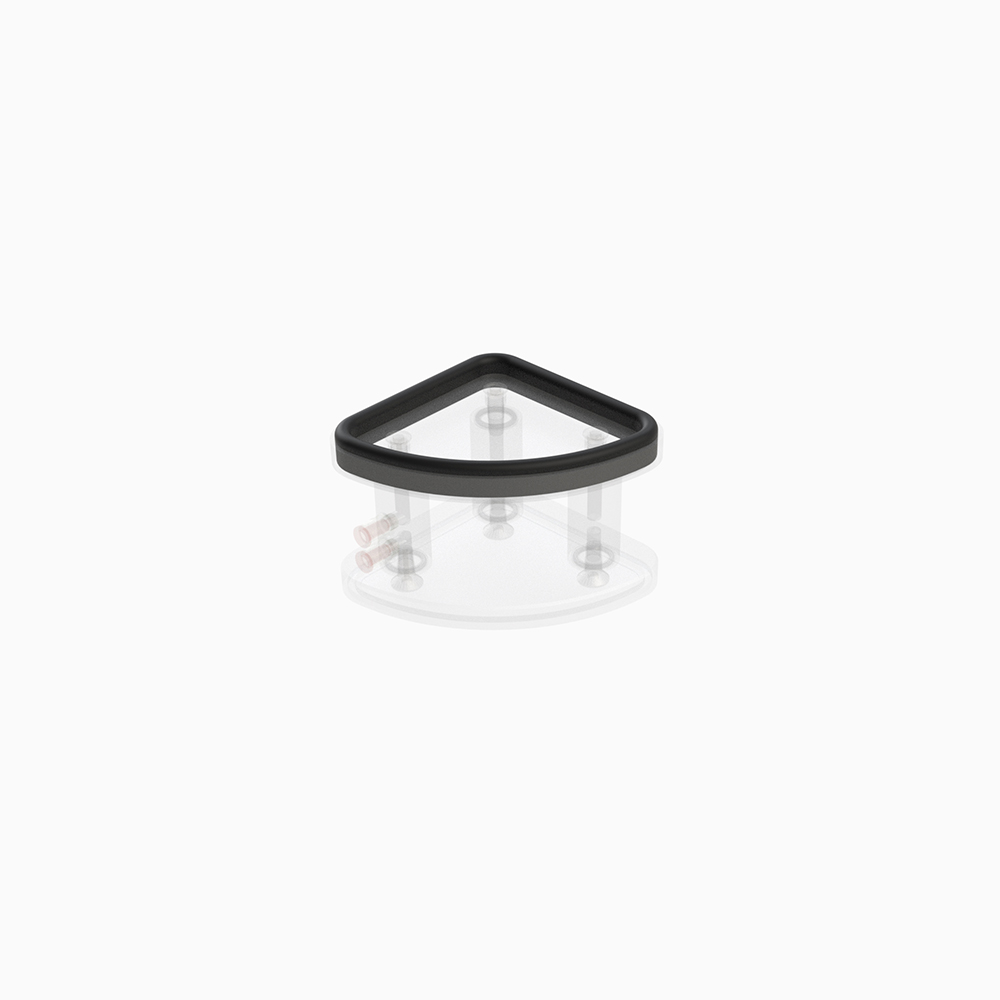
You may also like…
$1,050.00
Select options This product has multiple variants. The options may be chosen on the product page$65.00
Select options This product has multiple variants. The options may be chosen on the product pagePrice range: $2,745.00 through $2,775.00
Select options This product has multiple variants. The options may be chosen on the product page